Are you ready to take your website to the next level? Whether you’re a beginner or an experienced web developer, installing WordPress on your cPanel is a crucial step in creating a powerful and customizable website. In this post, we will guide you through the process of installing WordPress in cPanel, providing you with detailed instructions to ensure a smooth and successful installation. So let’s dive in and bring your website dreams to life!
1. What is cPanel and why is it important for WordPress installation?
cPanel is a web hosting control panel that allows you to manage and control various aspects of your website. It provides an intuitive interface, making it easier for users to perform tasks such as domain management, email setup, and most importantly, installing WordPress. The importance of cPanel lies in its ability to simplify the installation process and provide a user-friendly environment for managing your website.
2. How to access cPanel?
To access your cPanel, follow these simple steps:
- Step 1: Open your preferred web browser and type in your website’s domain name followed by “/cpanel” (e.g., www.yourwebsite.com/cpanel).
- Step 2: Enter your cPanel username and password, which are provided by your web hosting provider.
- Step 3: Click on the “Log in” button to access your cPanel dashboard.
3. How to create a database for WordPress installation?
Before installing WordPress, you need to create a database to store all your website’s data. To create a database in cPanel, follow these steps:
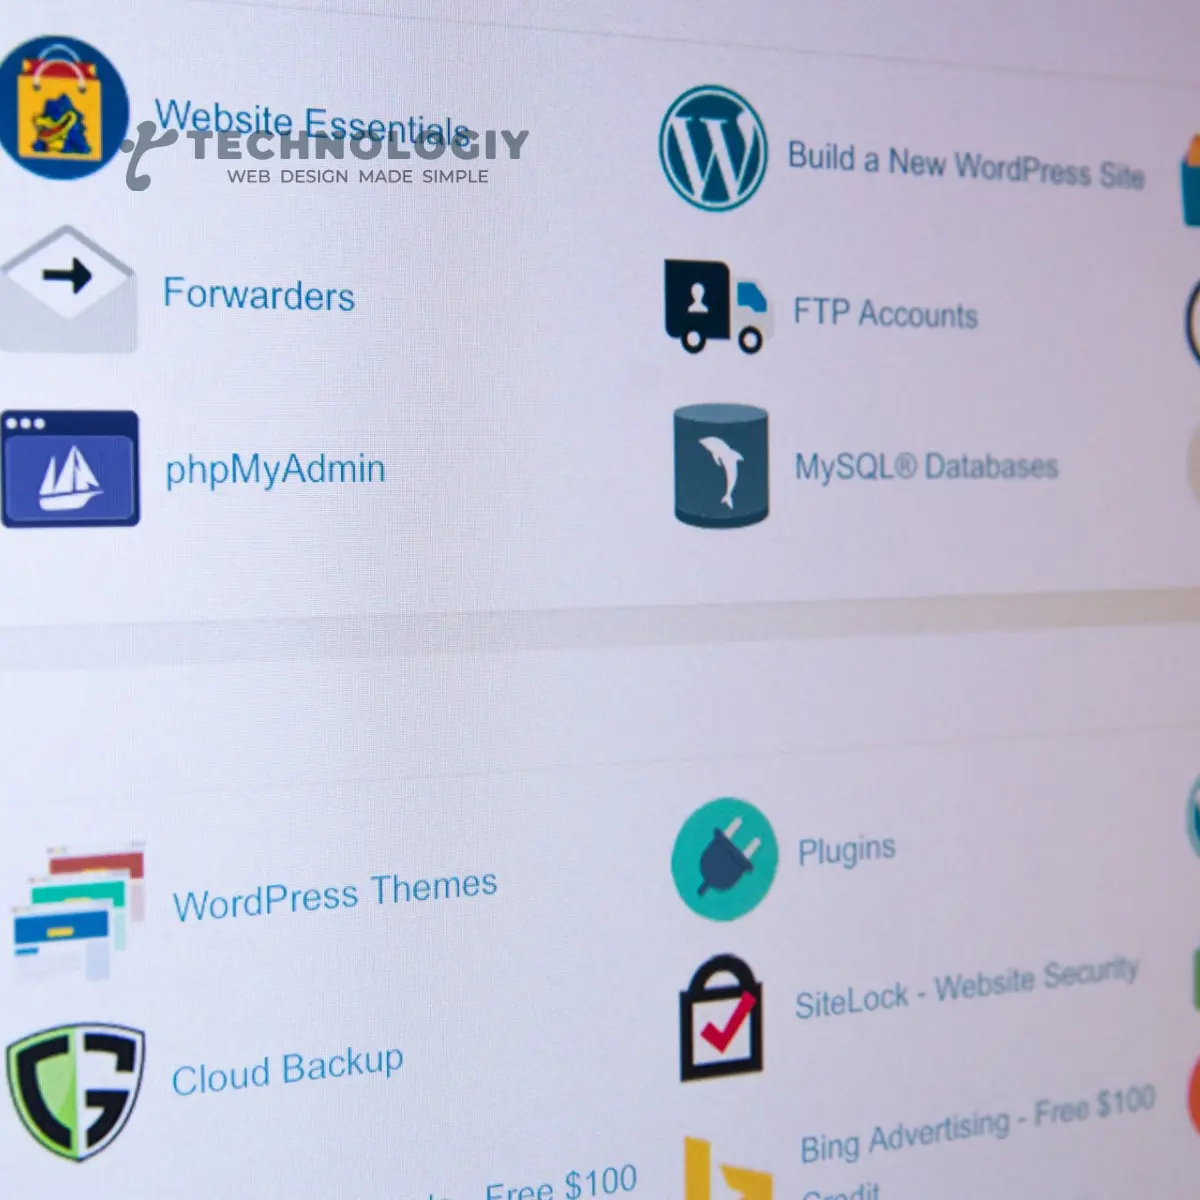
- Step 1: Once you’re logged into cPanel, scroll down to the “Databases” section and click on the “MySQL® Databases” icon.
- Step 2: On the next page, enter a unique name for your database and click on the “Create Database” button.
- Step 3: After successfully creating the database, scroll down to the “MySQL Users” section and create a new user by entering a username and password. Make sure to remember these details for the next step.
- Step 4: Finally, navigate to the “Add User To Database” section, select the user and database you just created, and click on the “Add” button. On the next page, grant all privileges to the user by checking the box next to “All Privileges” and click on the “Make Changes” button.
4. How to install WordPress in cPanel?
Installing WordPress in cPanel is a straightforward process. Follow these steps:
- Step 1: In your cPanel dashboard, scroll down to the “Softaculous Apps Installer” section and click on the “WordPress” icon.
- Step 2: On the next page, click on the “Install” button to begin the installation process.
- Step 3: Fill in the required information, such as the domain where you want to install WordPress, the directory (if you want to install it in a specific folder), and your desired admin username and password.
- Step 4: Customize other settings if needed, such as the site name, description, and theme.
- Step 5: Once you have filled in all the necessary details, click on the “Install” button to initiate the installation process.
- Step 6: After a few moments, you will receive a confirmation message indicating the successful installation of WordPress.
Conclusion
Congratulations! You have successfully installed WordPress in cPanel, taking a significant step towards creating a powerful and customizable website. By following the detailed instructions provided in this post, you have gained the knowledge and confidence to take full control of your website’s development. Now it’s time to explore the endless possibilities that WordPress offers, from selecting themes and plugins to designing captivating web pages. Remember, with WordPress and cPanel, your website dreams are within reach, and you have all the tools at your disposal to turn them into reality. Happy website building!
